Tuesday, February 7, 2012

Valentine Inch worm

Today in my preschool we were talking about the letter I.  We made Inch worms for the letter I.  As we finished them up it got me thinking about what a darling Valentine it would make. 


So here are a few of my ideas with the inch worm Valentine! 


Here is how to do it!


Pick two pipe cleaners.
You will want to use a small handle to wrap them around. 
I found a paintbrush works best.
I first put the ends going the same direction as the brush, so as I
twisted it around the brush, I covered the sharp ends.


Continue wrapping the pipe cleaners around the paint brush.


When I got to the end I twisted the two ends together.

 Finish wrapping.

I picked fun Valentine colors.

 I used a leaf pattern I had but you could go to goggle images and find some cute leaf patters.

Cut them out. 

I picked three different sizes of eyes so you could see which size you like best.

I used hot glue to glue them to the leaf and glue the eyes on.

Happy Valentine's Day!

Sunday, February 5, 2012

GIANT Hamburger Cake and Fries


This last Friday my Grandpa turned 88 years young!  I love him so very much and I wanted to make him a special cake for his birthday.  I set out looking for a fun idea for the perfect cake!  I found a darling website for hamburger cupcakes and it got me thinking......could I do a full size hamburger cake???? 

I followed the instructions for the cookies exactly the same.  But I ran into a few problems and here is how I fixed it.

There was going to be over 50 people at my grandpa's birthday party so I used 3 large cookie mixes.  So there was a lot of fries.  I found that putting the fries I pull out back into the mix to be rolled out again was more work than it needed to be.  And even though I rolled it out on the wax paper it still stuck to the paper. 

*I put flour on the wax paper before rolling out
*I cut the fry shape with a pizza cutter
*I took a thin long knife and used it as a spatula to lift fry off of the wax paper
*Took the fry I took off and put it on a waiting piece of wax paper saving a lot of time

HERE is the link to the website with the step by step instructions for hamburger cupcakes and french fry instructions!  This is brilliant and so cute!!!  She is amazing!!


Okay and on to the cake.  So I decided it would take a full yellow cake for the bottom bun and a full yellow cake for the top bun.  I only planned on one brownie mix for the meat patty but it was so thin compared to the buns so I ended up making two brownie mixes.  It turned out great.  But I wonder if it would have looked better if I baked the two mixes together at the same time.  Would it have cooked all the way through.  Hmmmm???

* I used my 10 inch ( I think it's 10 inches) spring form pan for the cakes and brownies.  (It took over two hours of just baking time.)
*I took the bottom yellow cake and cut the top off so it was flat and even so the rest of the hamburger would sit even.
*I then took a little cream cheese frosting and colored it brown and put it on the top of the yellow cake so the brownie would stick to it.   Then put it between the two brownies.  I wanted to make sure everything was secure and wouldn't slide around.
*  Then I took the rest of the cream cheese frosting and added 4 more containers.  Yes it took 5 cartons of frosting just for the cake.  I wanted plenty of frosting because it was 2 whole cake mixes.
* I colored the frosting red, yellow and green.
* I loved the tip to use a sandwich bag for piping the icing on.  The sandwich bag really made it look like ketchup and mustard!
*After piping on all three colors I added the last yellow cake. 
*Last thing I spread on a small amount of water on the top and sprinkled on the sesame seeds.
(Not thick enough!  Need more brownie!)


On the website I gave the link to she has DARLING instructions and copies to make a fry holder.  I looked at her pattern and made my own.  I couldn't use her pattern because I was making a giant one. 

                                               
*I then wanted to complete my cute project with complimentary ketchup to dip the fries in.
*I used one more cream cheese frosting and colored it red
*I got really cute clear small plastic cups with lids to put the frosting in.  (It looked just the kind you would get at a restaurant.)
*I put an heaping tablespoon of "Ketchup" in each cup. 
     
So total you'll need:

Two yellow cake mixes
2 brownie mixes
Sugar cookie mix (depends on how many people you'll be feeding)
6 frosting's  (4.5 for the cake and 1.5 for ketchup) 
               This depends on how much ketchup you want.  I filled 50 cups and only about 5 were used.    They were really cute but next time I'll only use a few for decoration!


Saturday, January 21, 2012

Valentine's Wood Letters


I love to cut out words on my saw.  I did a bunch for Christmas and decided I better get going on my Valentine's Day words.  I can't believe that Valentine's Day is a few weeks away!!!  WOW!!  I am so excited about the fonts I used.  One of the kisses and one of the love words I've cut small lips or hearts that pop out.  The dot on the "I" has three options to choose from.  Who doesn't like a choice?!?  You can have a heart, lips or a Hershey's kiss!  The hearts used for "O" have a smaller heart cut out of the middle to add dimension.  The "Be Mine" was designed with the idea that the word BE would be printed on the front of the heart used as the dot for the "I". 

I hope you all have a very wonderful Valentine's Day!


Here is link to my wood website  woodluv2.blogspot.com or if your interested in ordering

you can check out my Etsy site.  ORDER HERE
Let me know what you think!  I also do custom orders.  If there is something you're looking for let me know!  :0)

Thursday, January 19, 2012

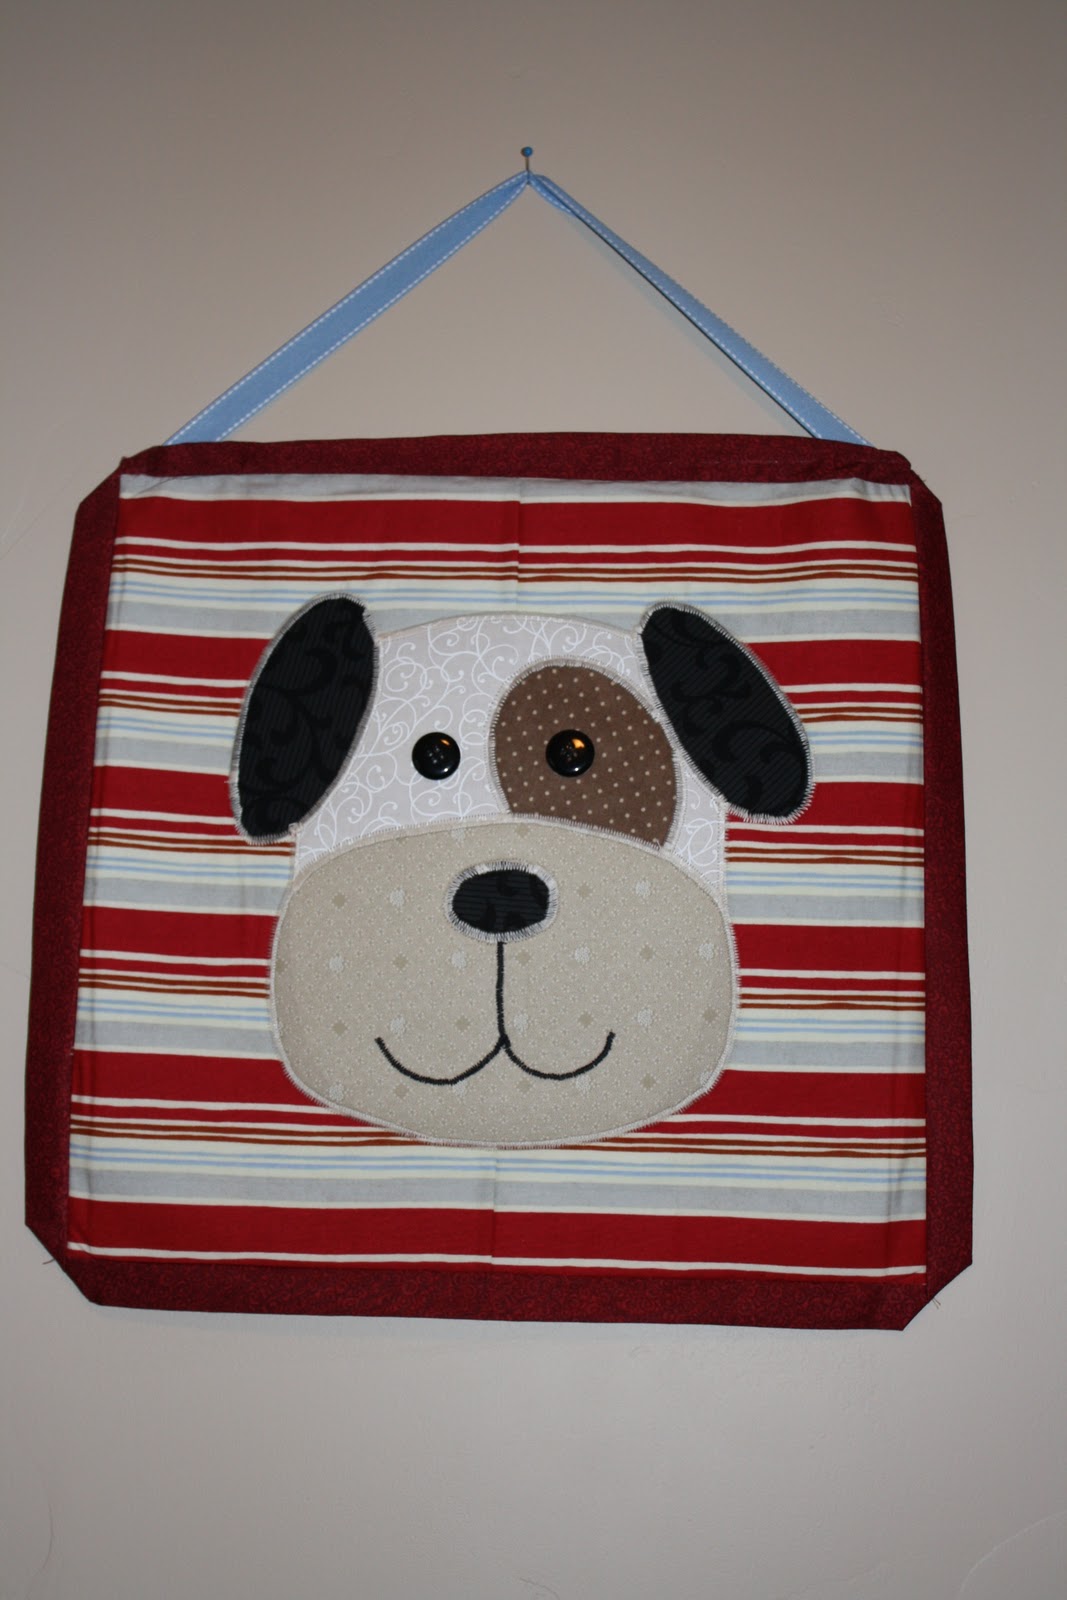
Bady Animal Wall Hangings to match Baby Blanket


Here are the wall hangings I was telling you about.  (They are made from the same pattern as my quilt.)
To hang:   On the top of the outside boarder I cut a small hole on the back about and inch from the end.  I then cut up a wire hanger.   I made it about 3 inches longer than the boarder.  I then turned in the ends 1.5 inches each.  This will keep the ends from poking through the fabric.  I then thread it through the hole.  The seal the hole and make sure it didn't fray I put fray no more on the edges of my hole.    (Sew down the ribbon before putting in the hanger!)  :0)  

*The boarder is sewed on like a binding. There is a loop of material for the hanger to fit inside of. 

Pieced Animal Baby Blanket


I had just found out I was pregnant and my mother in law wanted an idea for something to give me for my birthday.  I really wanted to make a baby quilt.  So she gave me a gift certificate to my favorite fabric store.  I was so excited and I just couldn't wait to find out what I was having before making the quilt.  So I decided to make two.  One for a girl and one for a boy.  (I'll post pictures of my daughters quilt next week!) 
This is my favorite one!  I loved the farm animals.  I don't follow the regular quilters rules.  I kinda fly by the seat of my pants.  I don't follow patterns.  I find a picture or idea of what I like, take the idea and make it my own. 
For quilting I do make a grid on paper and figure out the sizes of squares and different colors and patterns for materials.  (I really wanted to use and red and blue.)  Then I decided what colors I wanted the animals.  I drew a mini of each and animal and colored it so I had a good idea the colors I wanted and that they all went went well together.  (I found 3 different quilts with animals on them.  I then copied the look of the animals I liked)  I drew out the animals and cut out each piece for my pattern.  I iron them on where I want them  and then dig zag over them to make sure the seams are secure. (Someone suggested I use buttons for the eyes.  I used buttons on the wall hanging but not on the quilt.  I didn't want the baby to get snaged or be ripping them off on the quilt.)

After my daughter I put this in a closet hoping we would one day have a little boy to call this his own.  My daughter was only 4 months old when we found out we were expecting our little cowboy!  I was SHOCKED we were having another one so soon!  But when we found out it was a boy I was so excited!  I pulled out the quilt.  I then also creating wall hangings (WHICH I'LL POST NEXT) to match the quilt and tie it all together. 

Our sweet baby boy was born and left my arms on August 1, 2011.  Our little cowboy is missed everyday!  But how very lucky we are to have him in our family! 

Someday I hope to have another little cowboy!  When we are blessed that day, I will once again pull out this quilt!  

Monday, January 16, 2012

DIY rug for your kids

Buying a rug for your kids is expensive.  So why not cut the cost in half and do it yourself.  This way you can make the rug fit any the theme of any room.

I decorate my classroom with frogs!  Lots of frogs.  I wanted a rug with a pond.  I took a carpet remnant and regular tempera paint and spray paint.  I painted what I wanted on the rug with tempera paint.  It lasts and looks great!  I didn't have to touch it up for 7 years.  Once it faded I just reapplied the paint.  I did use spray paint on some of it to save time and arm work.  It held up just as well as the tempera and wasn't rough to touch like the tempera paint.  I would suggest using the spray paint as much as possible but the tempera is great for fine detail.  :0)   


Friday, January 13, 2012

Fun for a kids room or play room

I made these cute dolls about ten years ago.  They have been in three different schools and are now in my preschool.  They hold up great!  The only thing that gets hammered is the hands and feet but the great thing about it is they are very easy and cheap to replace!!! 

Years ago they made stickers that looked like these cute dolls.  I took the stickers and put them on a over head projector.  Then I traced them on foam board.  The most difficult part was cutting it out.  I used a razor and it went a lot faster.  Then I painted the dolls with tempera paint.  The hair, arms and feet are all pipe cleaners.  (Like I said easy and cheap to replace!)  The pipe cleaner just pokes into the foam on the side.  (Some hair I glued down.) 

I painted some of the dolls specific colors.  I wanted to teach the kids colors but not just have some dumb punch out from the teachers store.  I love FUN in the classroom!!!  I think most of what I used in the classroom was things I made.  The more I love what I do, the more the kids will love learning and what we do!! 

Tip:  To hang the easiest thing is a straight pin that I place in the middle of their chin.  I tried lots of other things but one straight pin does a great job!

Hope you like!!!!